Devices and Parts List

Compatible Devices (comparative table)
| Device | M5StickV | Maix Amigo | Maix Dock | Maix Bit | Yahboom k210 module | Maix Cube | WonderMV |
|---|---|---|---|---|---|---|---|
| Price range | US$ 50-55 | US$ 50-85 | US$ 27-35 | US$ 32-42 | US$ 45-61 | US$ 34-49 | US$ 58-86 |
| Screen size / resolution | 1.14" / 135*240 | 3.5" / 320*480 | 2.4" / 240*320 | 2.4" / 240*320 | 2" / 240*320 | 1.3" / 240*240 | 2" / 240*320 |
| Brightness control |  |
 |
 |
 |
 |
 |
 |
| Device size | 48*24*22mm | 104*63*17mm | 98*59*18mm | 69*84*41mm | 57*41*17mm | 40*40*16mm | 59*41*17mm |
| Touchscreen |  |
Capacitive |  |
 |
Capacitive |  |
Capacitive |
| Camera | OV7740 |
OV7740 rearGC0328 front |
GC0328 |
OV2640 orOV5642 |
OV2640 (VER:1.0) orGC2145 (VER:1.1) |
OV7740 |
GC2145 |
| Battery | 200mAh | 520mAh |  |
 |
 |
200mAh |  |
| Requirements | None | None | Rotary encoder 3D printed case Soldering Assembly |
Buttons 3D printed case Soldering Assembly |
None | None | None |
| Warnings | Camera has lens distortion |
Micro USB | 3-Way button | None |
: M5StickV's USB-C port lacks pull up resistors required for it to be recognized and powered by host (computer) USB-C ports. If you don't have an USB-A available, you can use a USB hub connected between your computer's USB-C and M5StickV.
: Some Amigo screens have inverted X coordinates, others display colors differently. For more info see Troubleshooting.
: Some stores ship the Maix Dock with soldered pin connectors that do not fit into the 3D printed case.
All devices feature Kendryte K210 chip: 28nm process, dual-core RISC-V 64bit @400MHz, 8 MB high-speed SRAM, DVP camera and MCU LCD interface, AES Accelerator, SHA256 Accelerator, FFT Accelerator.
M5StickV
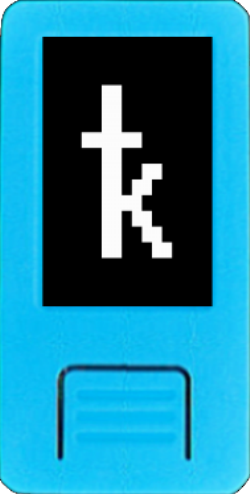
Below is a list of some distributors where you can find this device:
Maix Amigo
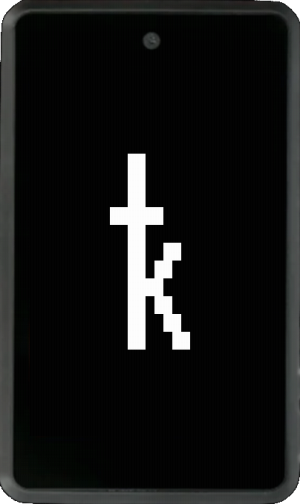
Below is a list of some distributors where you can find this device:
Yahboom k210 module
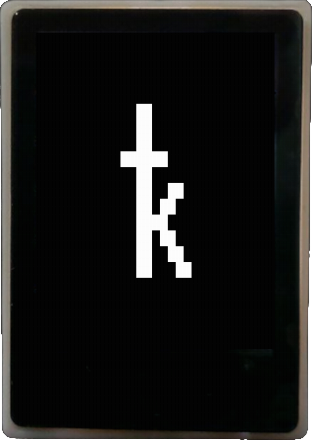
It comes with a compatible 32G card, an USB card reader, one PH2.0 4Pin male-to-male connector and one PH2.0 female adapter (to connect to a thermal printer). Below is a list of some distributors where you can find this device:
Maix Cube
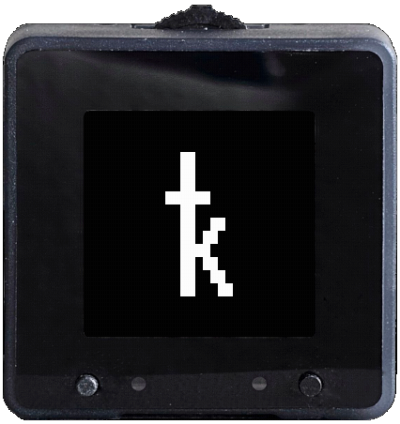
Below is a list of some distributors where you can find this device:
WonderMV
It comes with a compatible 32G card, an USB card reader, and two Molex 51004 4-pin male-to-male cable (to connect to a thermal printer). Below is a list of some distributors where you can find this device:
Maix Dock and Maix Bit
For the DIYers, the Maix Dock and Maix Bit are also supported but will require sourcing the parts individually and building the device yourself.
Below are example implementations with instructions on how to recreate them:
Below is a list of some distributors where you can find these devices:
Other Parts
USB-C or Micro USB Charge Cable
This will come with the device. It will be necessary to power, charge the device (if it has battery) and to initially flash the firmware.
(Optional) MicroSD Card
We cannot guarantee that a microSD card is compatible and will work in your device; you'll need to test it on the device to be sure, read the Troubleshooting for more info. Yahboom will come with a compatible 32G card. The size of the SD card isn't important; anything over a few megabytes will be plenty.
(Optional) TTL Serial Thermal Printer
Warning/Disclaimer: This feature is intended for individuals with experience in electronics tinkering and soldering.
Krux has the capability to print all QR codes it generates, including those for mnemonics, xpubs, wallet backups, and signed PSBTs, using a locally-connected thermal printer via its serial port.
Many TTL serial thermal printers may be compatible, but currently, the Goojprt QR203 has the best support (except this printer only supports ASCII or Chinese characters, non-ASCII characters will be printed as Chinese). The Adafruit printer starter pack can also be a convenient option to get started, as it includes all the necessary components for printing (except the conversion cable). To ensure proper functionality, enable the printer driver in settings, set the Tx pin and baud rate value to either 19200 or 9600 (depends on the printer), as explained in this Adafruit printer tutorial. You will need to connect the device's Tx to the printer's Rx and device's ground to the printer's ground, do not connect any other pins because a wrong connection may damage your device. The printer requires a dedicated power supply, typically with an output of 5 to 9V (or 12V) and capable of supplying at least 2A. For more information, see this discussion.
(Optional) Conversion Cable for Thermal Printer
To connect the printer to M5StickV, Amigo or Cube, you will need a grove conversion cable with a 4-pin male Grove connector on one end (to connect to the device) and 4-pin male jumpers on the other end (to connect to the printer). Check your device and printer model connection first, Yahboom comes with PH2.0 4Pin female connector; Dock and Bit doesn't have a connector; WonderMV comes with Molex 51004 4-pin connector (used with smart servo). For a more reliable connection, it is recommended to cut and solder the wires of your custom cables instead of using jumpers. Here we have a description of some inter-integrated circuit (I2C) connector standards.